Performing Tesla controls (such as opening the trunk) with Siri via Homebridge
Disclosure: This blog is a participant in the Amazon Services LLC Associates Program as well as other affiliate programs, designed to provide a means for me to earn fees by linking to Amazon and affiliated sites at no extra cost to you. Please see the full disclosure for more details.
Time needed
- < 10 minutes (if you already have a running instance of Homebridge)
- Otherwise, 1 hour or more to include the time it takes to set up Homebridge
Materials
- iPhone with Auth app for Tesla installed
- A Tesla car (Don’t have one?)
- Raspberry pi 3B or better or machine running Homebridge. Note: Raspberry Pi’s have gone up a lot in price in 2022 due to the chip shortage. If you’re really lucky, you can find one from an authorized seller via a redirect from https://www.raspberrypi.com/products/, but lately it’s been sold out.
The story
The story is the same as my previous post. I just want to control my car with Siri – either from my phone or (ideally) from my watch. The method with Shortcuts had its issues – for me it was often unreliable, and it never worked from my watch. After a while, I just stopped using it.
Earlier last year, I dug out my Raspberry Pi and installed Homebridge to tie all my smart home devices together. Well, it turns out the creator of Homebridge wrote a Tesla plugin to make Teslas appear as smart home accessories. This exposes various Tesla controls (locking/unlocking the car, opening/closing trunk, opening the frunk) as Home controls, which are understood by Siri. This method works a lot better than the Shortcuts method, and I’ve been pretty impressed. If you’re wondering, your car doesn’t need to be connected to your home wifi as long as you have a hub (for iOS 16+ this requires an Apple TV or a Homepod).
Homebridge
Homebridge is pretty easy to install on most computing devices.
Alternatively, you can spend money and just buy a machine that comes preinstalled with Homebridge – HOOBS.
I’m not going to walk through the whole Homebridge set up process (maybe I’ll do an article about this one day, but there’s lots of guides and tutorials out there already). Going forward, I’ll assume that you have Homebridge set up.
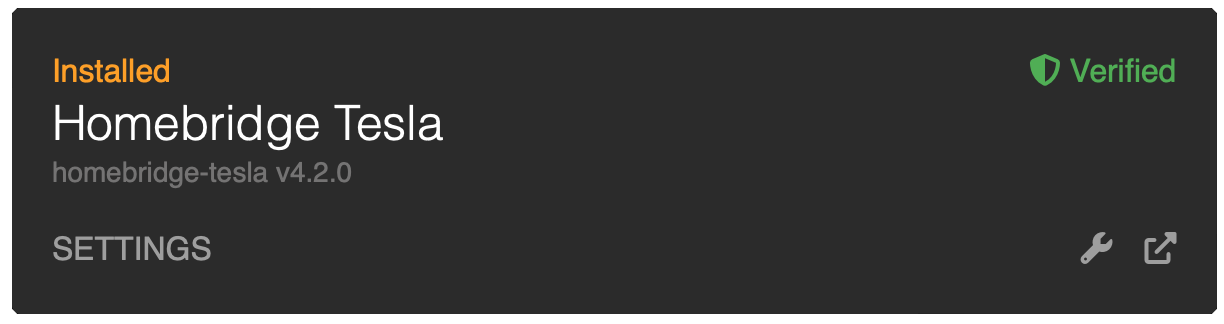
Simply install the homebridge-tesla plugin (as you would with any other plugin).
Homebridge Tesla configuration
The plugin now needs to be configured with the right details to access your car. Go into the plugin settings, and set three things:
- Name – this is the name of your smart home “room”. I just named mine “Tesla”.
- VIN – you can get at the very bottom of your Tesla app. The plugin uses this as an identifier, to send the command control to the right vehicle.
- Tesla API Refresh Token – This is what the plugin uses for authentication. The easiest way to generate this is using Auth app for Tesla. After signing in via Tesla’s single sign on, the app will spit out a long alphanumeric code – copy this into the plugin config.
Now, just restart Homebridge and after some initial configuration, you should see several Tesla controls in your Apple Home app!
Note: As mentioned in the README, there is a bug in iOS 16 that causes all the Home accessories to be named the same. To remediate this problem, go into each Home tile and change it’s name to whatever you want.
Now, you should have something like this!
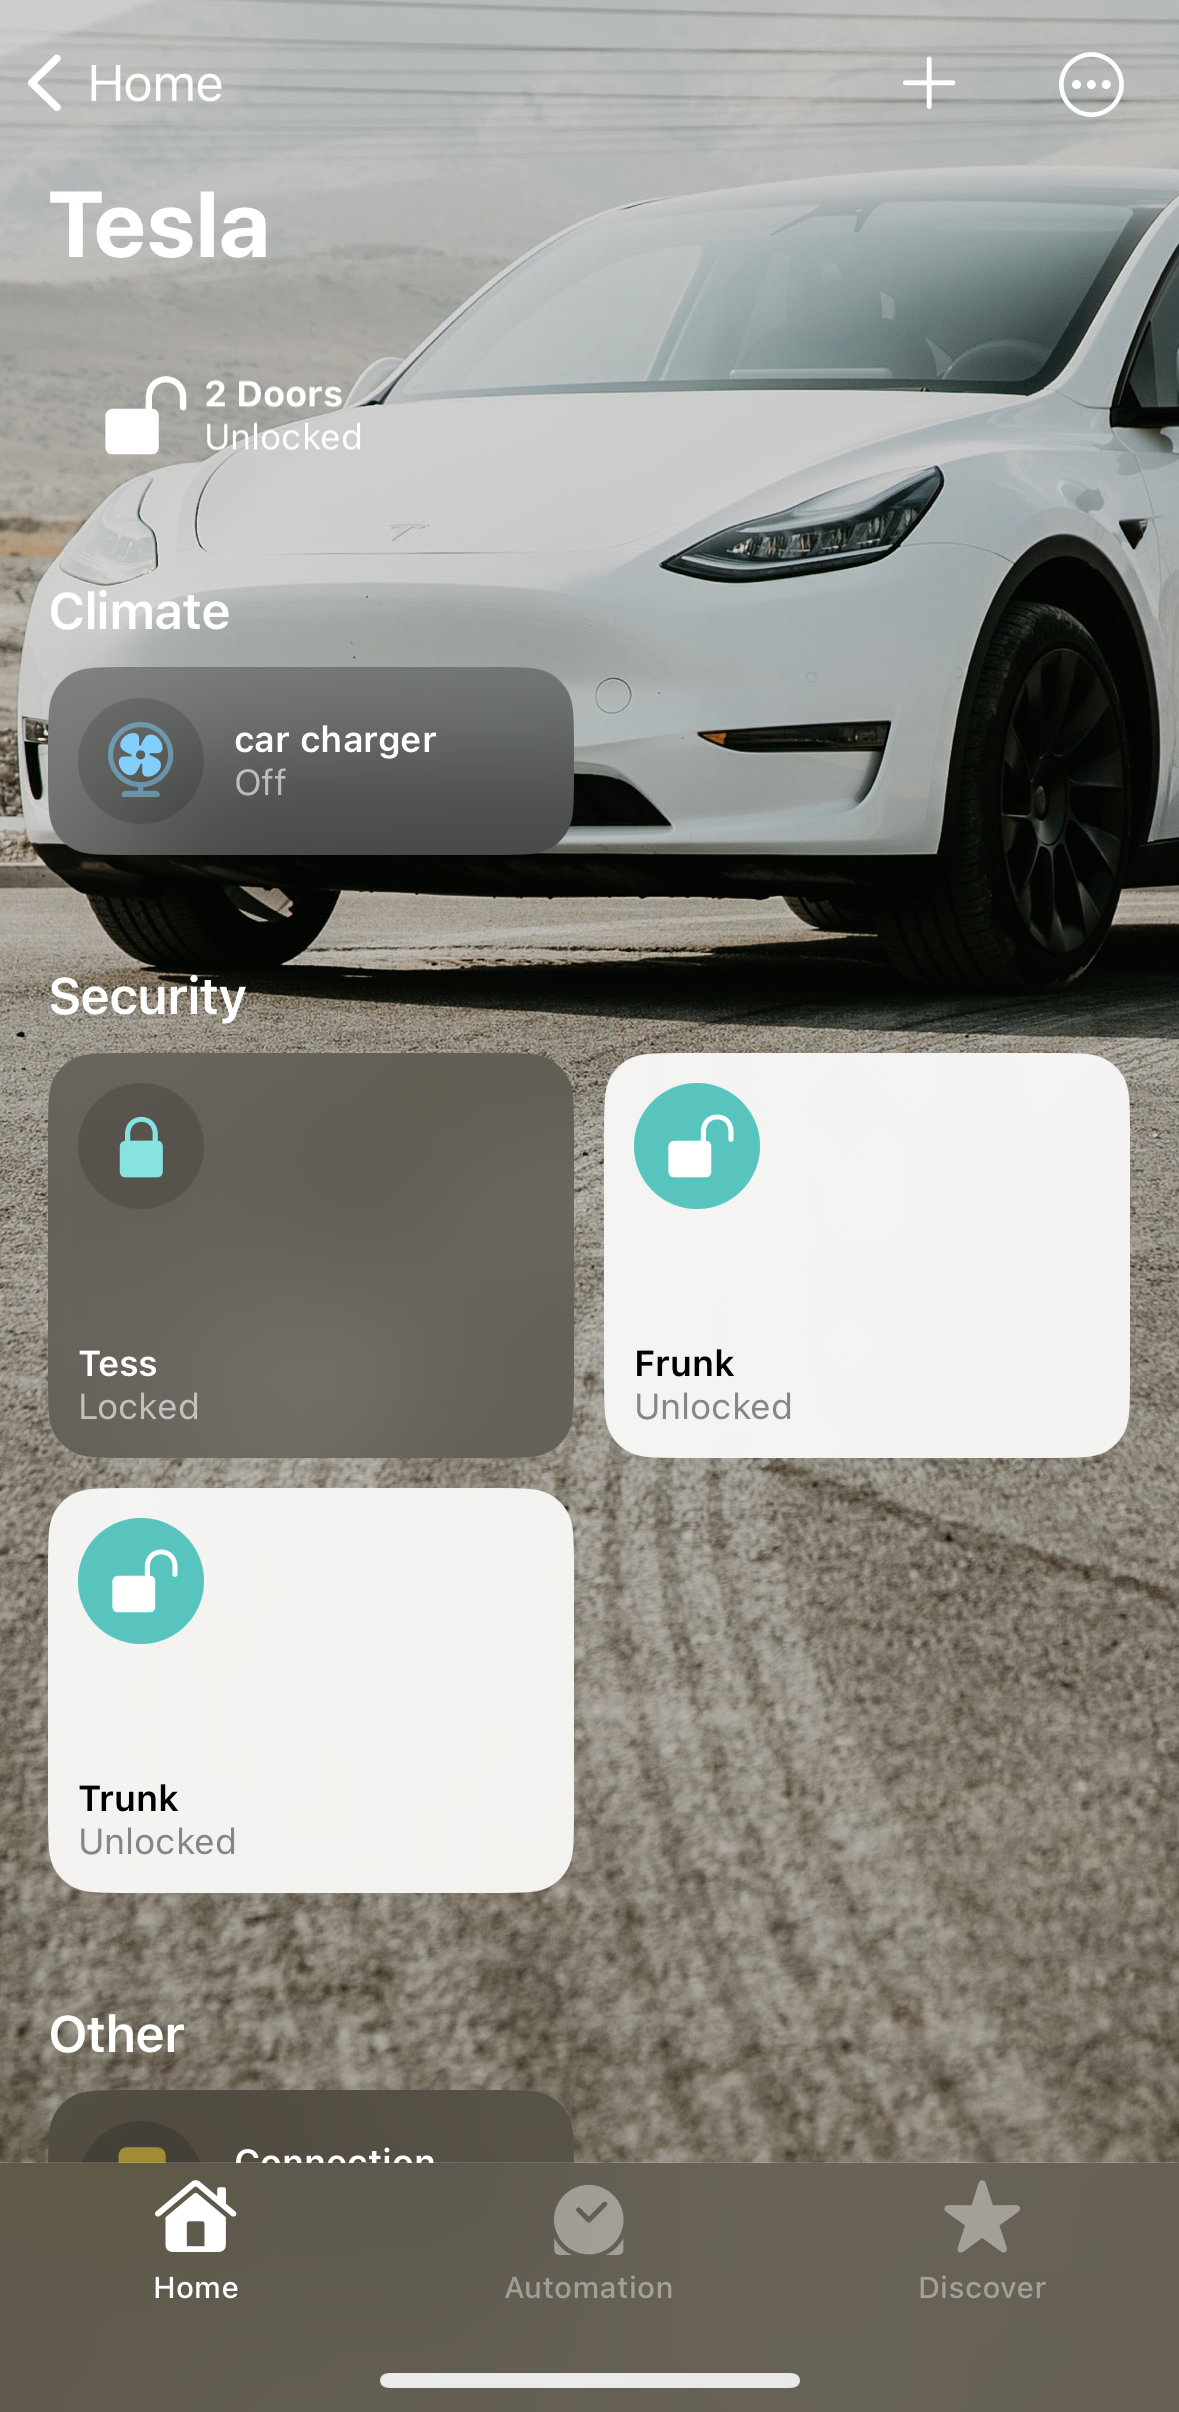
Also mentioned in the README, you’ll get the default services enabled:
- “Unlock the car doors” (My Siri gets confused by this, so I gave the car doors a special name instead.)
- “Open the trunk” (I found that “Unlock the trunk” and “Lock the trunk” is more reliable. Note that since the trunk is exposed as a smart home lock, “unlock” is mapped to opening the trunk and “unlock” is mapped to closing the trunk).
- “Open the front trunk” (Same note as above, “Unlock the front trunk” is more reliable for me.)
- “Set the climate to 72 degrees” (turns on climate control if off)
- “Turn on sentry mode”
You can also configure the plugin to enable these additional services:
- “Set the charge limit to 80%”
- “Set the charging amps to 24”
- “Turn on the steering wheel heater”
- “Turn on the defrost”
- “Open the charge port”
- “Turn on the charger” (begins charging even if outside schedule)
- “Turn on the starter” (enables keyless driving)
- “Open HomeLink” (opens your garage or other door via HomeLink in supported vehicles)